Answer
TeHyBug is the ultimate temperature and humidity spy-bug for your home. It tracks the temperature and humidity periodically, and sends it to the TeHyBug-Server, your own web server or mqtt broker like a Raspberry Pi, where your can view the data in a nice daily/hourly graph. Track the temperature and humidity in your private server room, basement, storeroom, library etc..
Answer
Its a wifi environmental data tracker. Create your own weather-station. Put it any place where your wifi network is available. The battery lasts for several months! In our testing environment, the TeHy-Bug with DHT22 sensor, is tracking data for more than a half year. It uses a single 3,7 Volt 18650 LiPo-Cell (depends on sending data frequency and battery type).
Answer
Before going live with tracking, you'll have to connect to your TeHyBug with a browser to set a http url of the data web server or mqtt broker, provide your wifi network credentials for internet connection and make your display configuration is case you use one.
Answer
TeHyBug uses a low dropout voltage regulator which supports from 3.4 to 11 Volt input Voltage
Answer
The battery life depends on the data-frequency you set for your TeHyBug. The TeHyBug consumes most of power during the data measurement and wifi connection, once wifi connection is established and the sensor data is sent to the data-server, the esp8266 chip goes into a power saving deep-sleep mode. In battery powered mode the data-frequency should be set to 30 minutes or more. It also depends on the battery type that you use, by default you receive a TeHyBug with a 9v battery connector, so you can easily use it with a 9v battery. The 9v batteries have a low Ampere-hour capacity so its recommended to keep the data-frequency high. TeHyBug supports different batteries from 3.4V to maximum 11V, so you can use other batteries with it too. In case, you want it to measure the data very often (i.e. every 5 minutes or less), it is recommended to use a power supply, for example a usb power supply for your TeHyBug.
- The higher you set the data-frequency, the longer your TeHyBug will operate in a battery powered mode.
- The more Ah the battery has, the longer your TeHyBug will operate in a battery powered mode.
Answer
The battery life depends on the data-frequency you set for your TeHyBug. The TeHyBug consumes most of power during the data measurement and wifi connection, once wifi connection is established and the sensor data is sent to the data-server, the esp8266 chip goes into a power saving deep-sleep mode. In battery powered mode the data-frequency should be set to 30 minutes or more. It also depends on the battery type that you use, by default you receive a TeHyBug with a 9v battery connector, so you can easily use it with a 9v battery. The 9v batteries have a low Ampere-hour capacity so it's recommended to keep the data-frequency high. TeHyBug supports different batteries from 3.4V to maximum 11V, so you can use other batteries with it too. In case, you want it to measure the data very often (i.e. every 5 minutes or less), it is recommended to use a power supply, for example a usb power supply for your TeHyBug.
- The higher you set the data-frequency, the longer your TeHyBug will operate in a battery powered mode.
- The more Ah the battery has, the longer your TeHyBug will operate in a battery powered mode.
Answer
Yes you can, but it wouldn't last long. Display requires too much power so its recommended to use a constant power supply like USB power supply for your TeHyBug.
Answer
TeHyBug can send data via http get request or publish the data to a MQTT brocker.
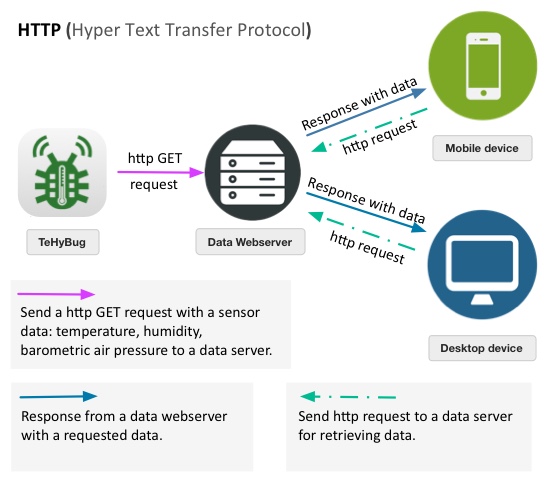

Answer
No, you don't. TehyBug comes soldered, preflashed and preprogrammed ready to use. The only thing you'll have to do is to configure it with your wifi credentials.
Answer
Sure, you can define any http url or mqtt broker you wish in the configuration menu.
Answer
You can define any http url or mqtt broker you wish in the configuration menu. You can use thingspeak or Domoticz home automation system for logging and displaying data. Or install GumCP web control panel for Raspberry Pi which has include a TeHyBug data logging module.
Answer
The device has preinstalled code. In a setup mode it acts like a wifi station, you'll have to connect your computer to a wifi network TeHyBug_xxxxx and open in your browser the url: http://192.168.1.1/ a configuration web page will open, where you'll have to provide your wifi credentials so that your TeHyBug can connect to the internet, you will have two choices:
- to use a tehybug.com server as a a data server (you'll have to signup at tehybug.com for this and provide your unique TeHyBug key in your account),
- or to use your own web host like Raspberry Pi or any other web host for data fetching where you'll be able to set your own custom url,
- or to use your own mqtt broker like Raspberry Pi or any other mqtt broker for publishing sensor data where you'll be able to set your own mqtt host,
- or use thingspeak or Domoticz home automation system for logging and displaying data.
Configuration demo video:
Answer
In case you have provided incorrect wifi credentials in the configuration mode or you would like to change the settings:
Press the reset button „BLACK“ and short arter that press the „RED“ button, the the blue led will light up solid and you will be able to connect to a TeHyBug wifi network and change your configuration.
Answer
In case you have put your TeHyBug into a configuration mode by mistake (the blue led lights up solid) and you don’t want to change your previous settings, you can activate the live mode by pressing the reset button „BLACK“ and short after that, press the „RED“ button (same way you put your TeHyBug from a live mode to a configuration mode), the the blue led will blink short (it means that you TeHyBug is in live mode, connecting to the configured WiFi network and sending the data to the dataserver or mqtt broker).
Answer
For your custom http url or mqtt message your can use placeholders. Here is a list of supported placeholders:
%temp%
For temperature in °Celsius.%temp_imp%
For temperature in °Fahrenheit.
%humi%
For humidity.Depends on sensor type used in your TeHyBug.
%dew%
For dew point in °Celsius.%dew_imp%
For dew point in °Fahrenheit.Works only with temperature and humidity TeHyBugs.
%qfe%
For air pressure in hPa.%qfe_imp%
For air pressure in inHg.Depends on sensor type used in your TeHyBug.
%chipid%
esp8266 chip id.
http://tehybug.com/track/?t=%temp%&h=%humi%&p=%qfe%&chipid=%chipid%&bug_key=%key%
For TeHyBug with BME280 sensor.http://tehybug.com/track/?t=%temp%&p=%qfe%&chipid=%chipid%&bug_key=%key%
For TeHyBug with BMP280 sensor.http://tehybug.com/track/?t=%temp%&h=%humi%&chipid=%chipid%&bug_key=%key%
For TeHyBug with DHT22 sensor.http://tehybug.com/track/?t=%temp%&chipid=%chipid%&bug_key=%key%
For TeHyBug with DS18B20 sensor.
{'t':'%temp%','h':'%humi%','p':'%qfe%','chip_id':'%chipid%','bug_key':'%key%'}
For TeHyBug with BME280 sensor.{'t':'%temp%','p':'%qfe%','chip_id':'%chipid%','bug_key':'%key%'}
For TeHyBug with BMP280 sensor.{'t':'%temp%','h':'%humi%','chip_id':'%chipid%','bug_key':'%key%'}
For TeHyBug with DHT22 sensor.{'t':'%temp%','chip_id':'%chipid%','bug_key':'%key%'}
For TeHyBug with DS18B20 sensor.
Answer
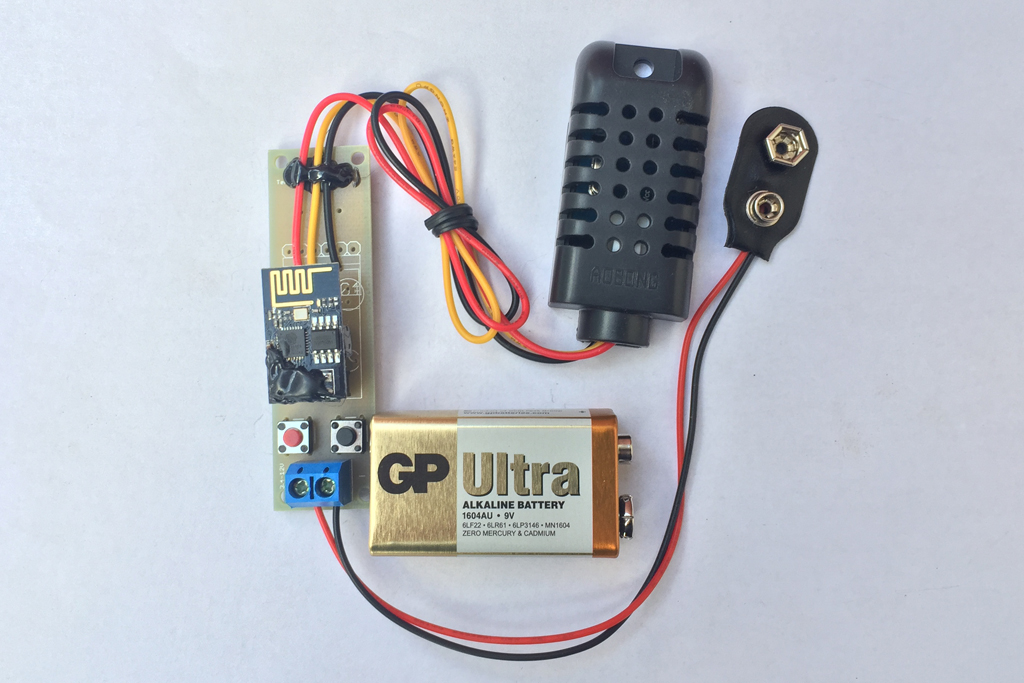
At the moment there are 5 different TeHyBugs with different sensors.
DHT21
- Type: DHT21 AM2301
- Accuracy resolution: 0.1
- Humidity range: 0-100%RH
- Temperature range: -40~80°C
- Humidity measurement precision: ±3%RH
- Temperature measurement precision: ±0.5°C
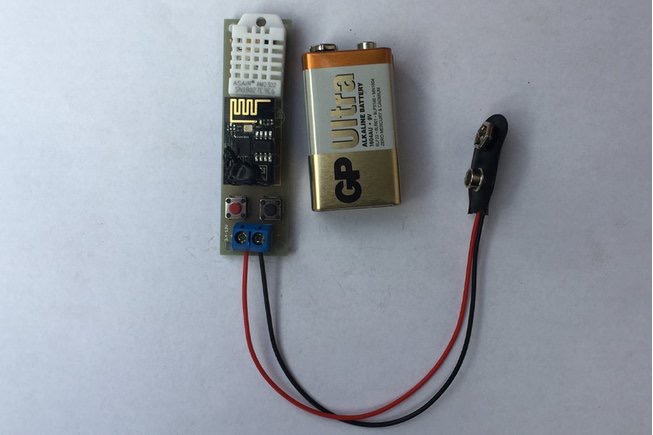
DHT22
- Type: DHT22
- Accuracy resolution: 0.1
- Humidity range: 0-100%RH
- Temperature range: -40~80°C
- Humidity measurement precision: ±2%RH
- Temperature measurement precision: ±0.5°C
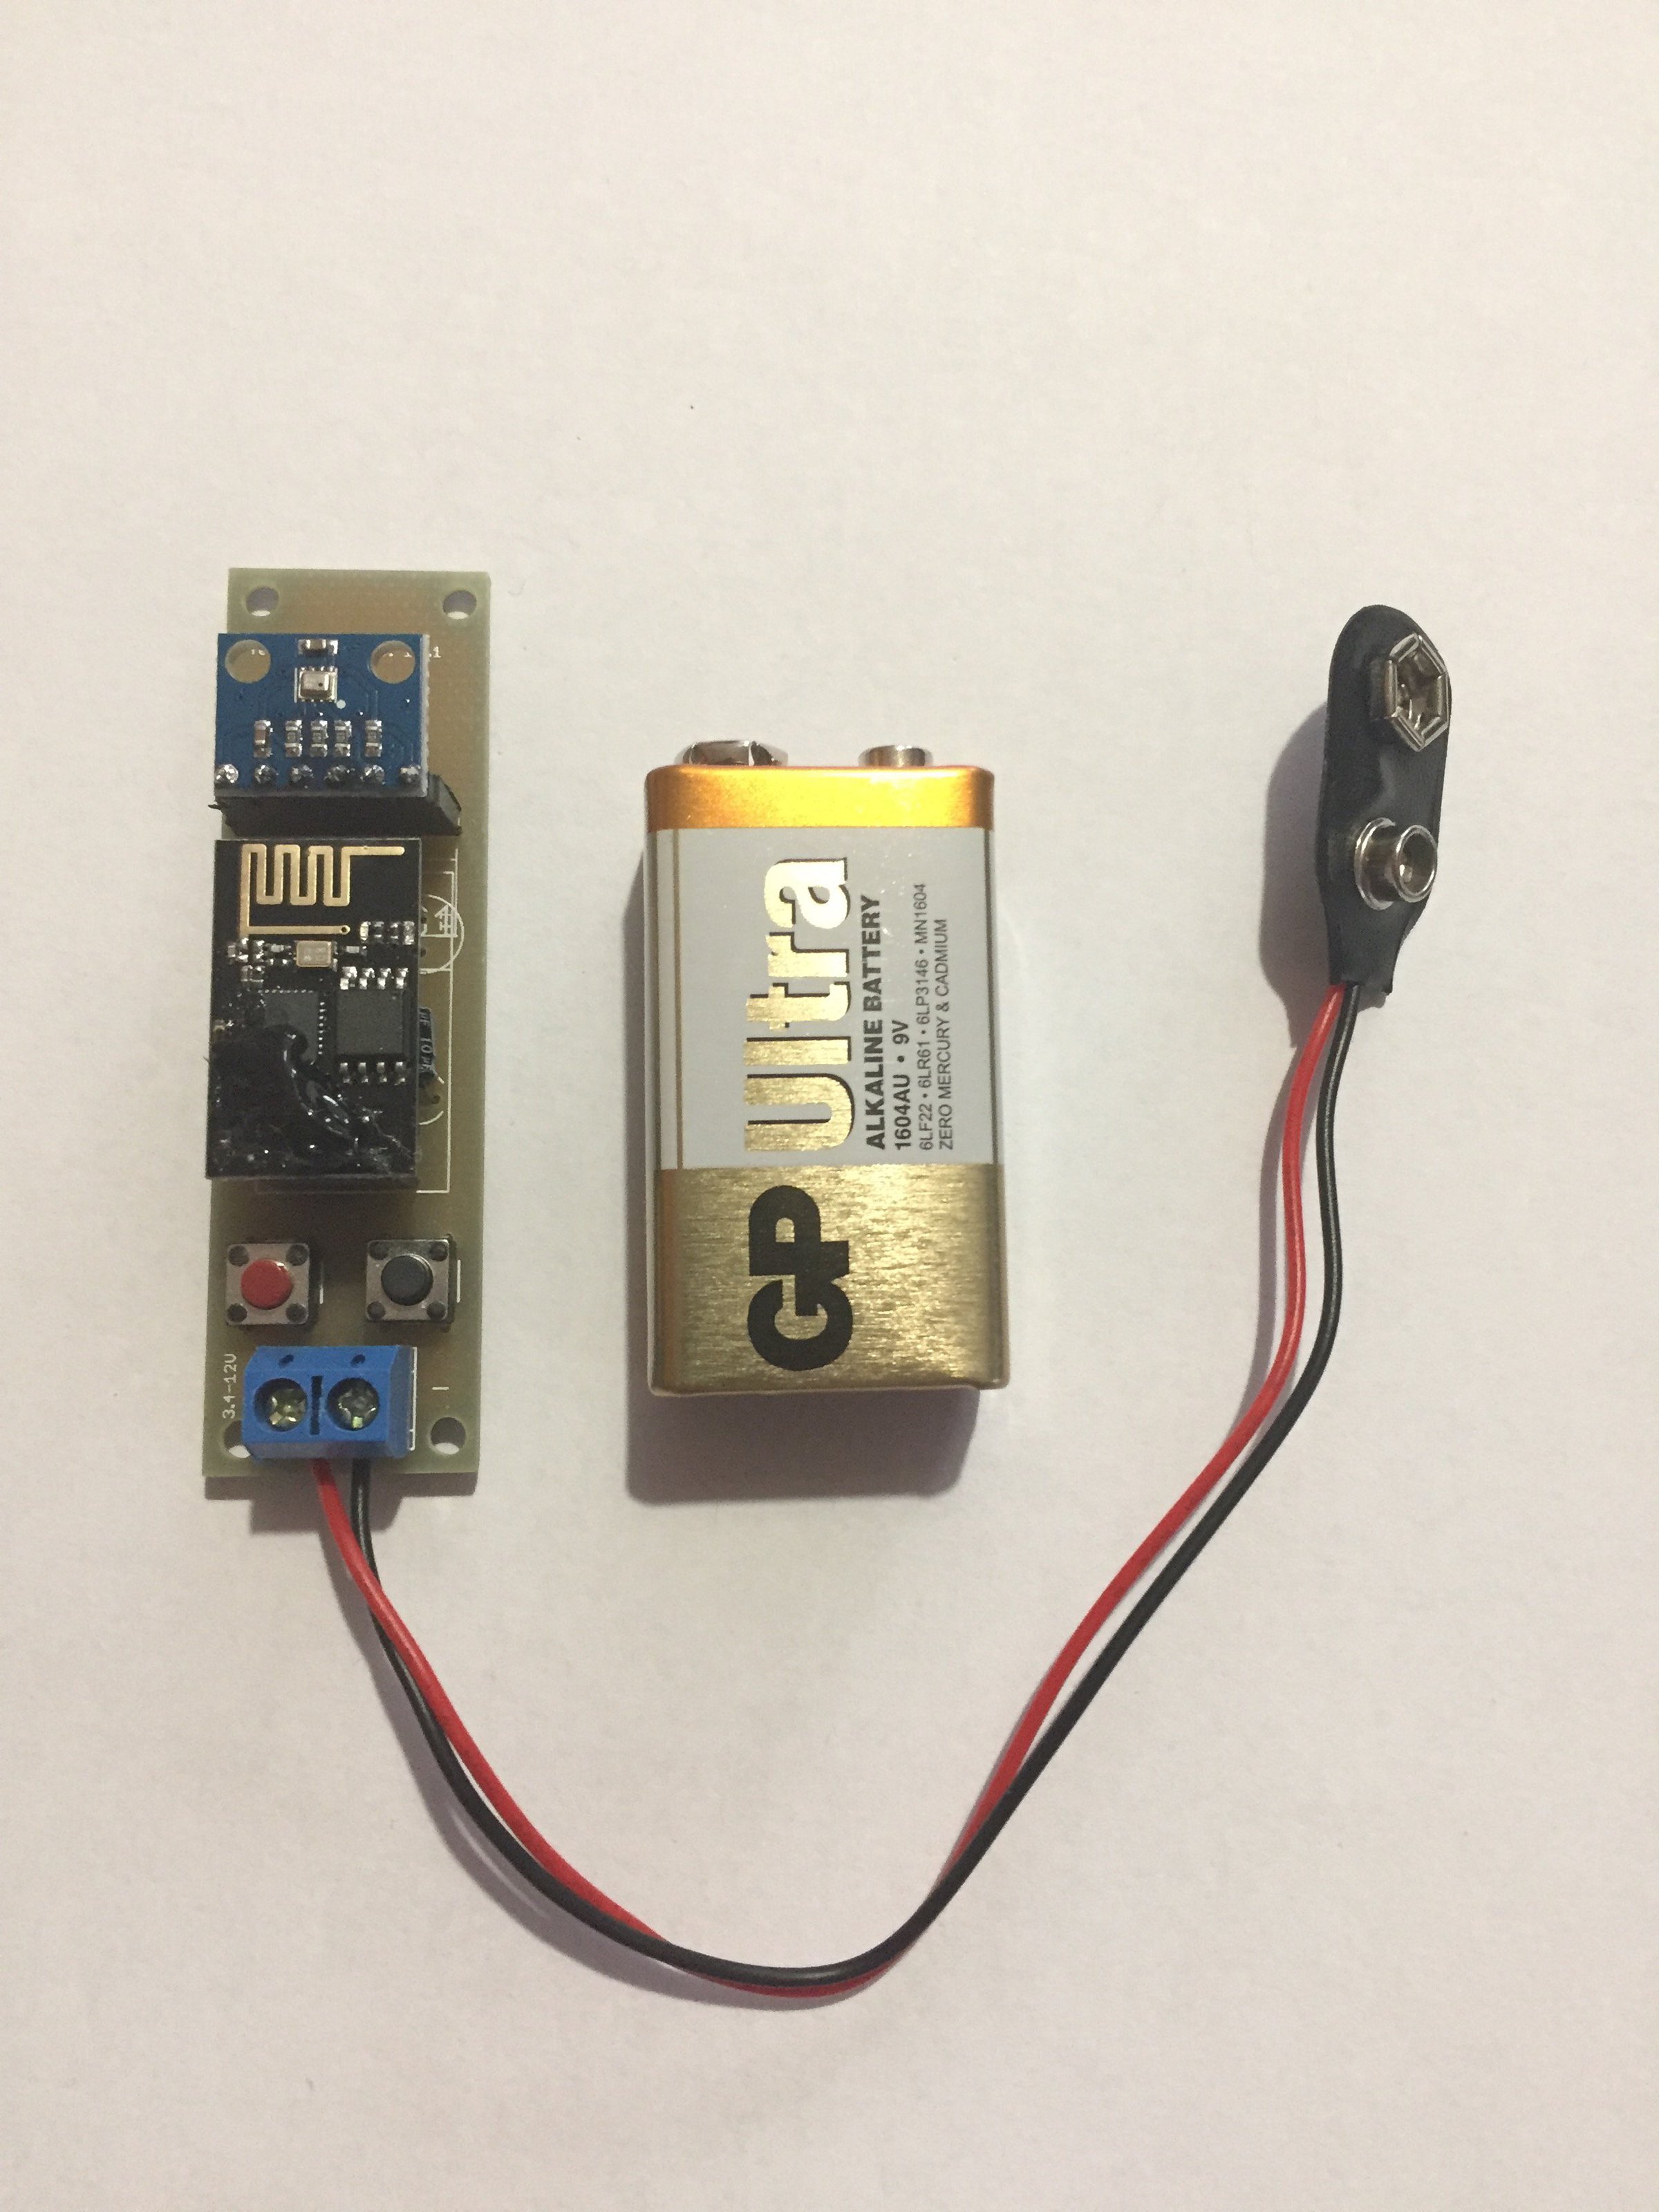
BMP280
- Type: BMP280 sensor
- Accuracy resolution: 0.1
- Pressure range: 300-1100 hPa
- Temperature range: -40-85°C
- Barometric pressure precision: ±1 hPa absolute accuracy
- Temperature measurement precision: ±1.0°C
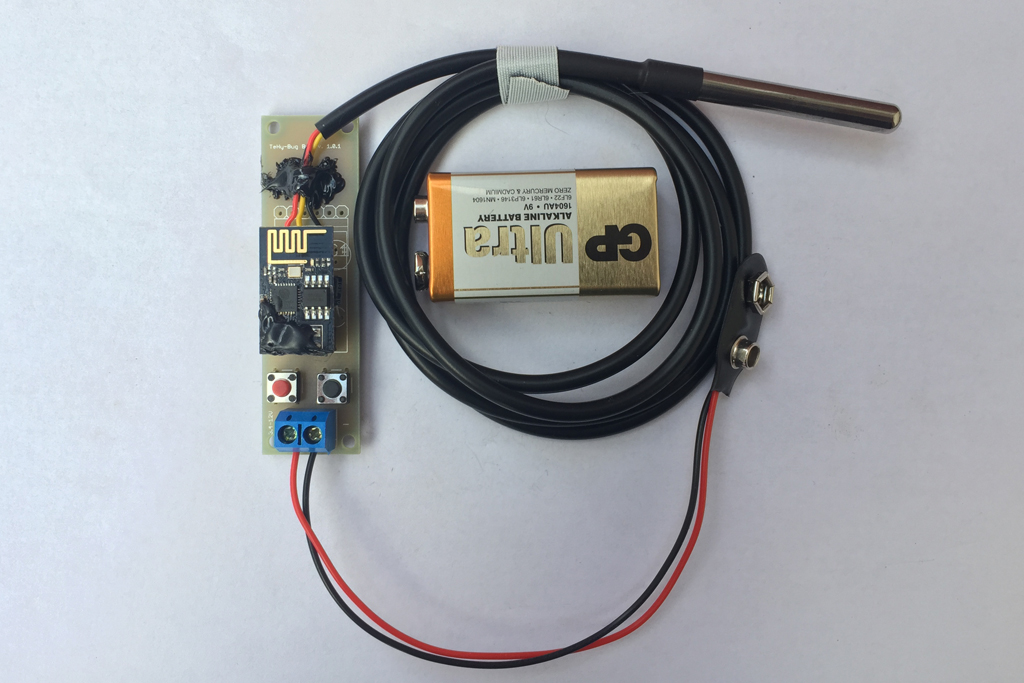
Waterproof DS18B20
- Type: DS18B20
- Accuracy resolution: from 9 Bits to 12 Bits
- Temperature range: -55°C to +125°C
- Temperature measurement precision: ±0.5°C from -10°C to +85°C
- Stainless steel housing (6 * 50mm), lead length 100cm
BME280
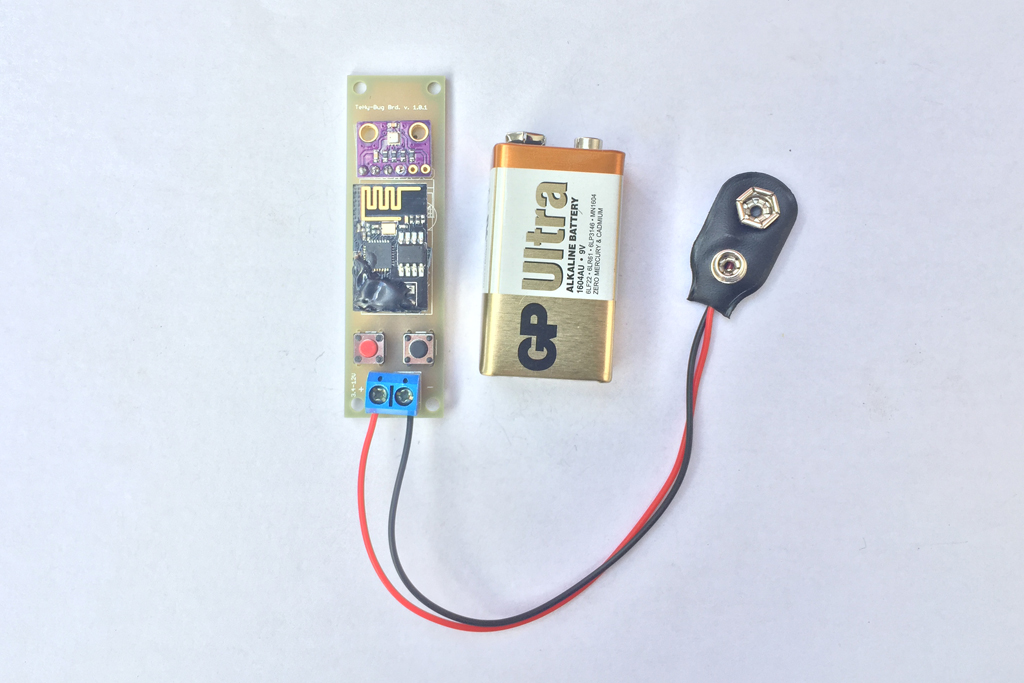
- Type: BME280 sensor
- Accuracy resolution: 0.1
- Pressure range: 300-1100 hPa
- Temperature range: -40-85°C
- Humidity range: 0-100%
- Barometric pressure precision: ±1 hPa absolute accuracy
- Temperature measurement precision: ±1.0°C
- Humidity precision: +-3%
Answer
It depends on data that you would like to measure with it.
There is a test with different sensor types which you can check here: http://www.kandrsmith.org/RJS/Misc/Hygrometers/calib_many.html
Answer
At tehybug.com site its displayed in a chart, an example chart of a TeHyBug with DHT22 sensor is below.

Answer
Add http://telegram.me/tehybot to your contacts in the telegram messenger to get the chat id. After you receive the chat id, please provide it in your profile settings at tehybug.com.
Answer
To find our which commands the TeHyBug Telegram bot supports, write a /help command as a message to the bot and it will list all available commands.
Answer
There are several ways to use Blynk with your TeHybug. First of all your have to add virtual pin to your Blynk app.
Virtual pin names usually start with V for example you have added two widgets for temperature and humidity with virtual pins V1 and V2. Unfortunately the Blynk Api doesn't allow to update multiple Pin values with single API request, it means that your TeHyBug can update only one sensor value if you plan to use the Blynk HTTP API directly.
If you plan to update multiple virtual pins at the same time you can use our github code, which you can install at any web hosting, free or paid, which supports PHP. That code is also installed at TeHyBug.com server, so you can put the following url in your TeHyBug custom configuration page:
http://tehybug.com/blynk/auth_token/tokenvaluegoeshere/?pins=V0,V1&values=%temp%,%humi%
Don't forget to replace the tokenvaluegoeshere with your token value that you get from Blynk.